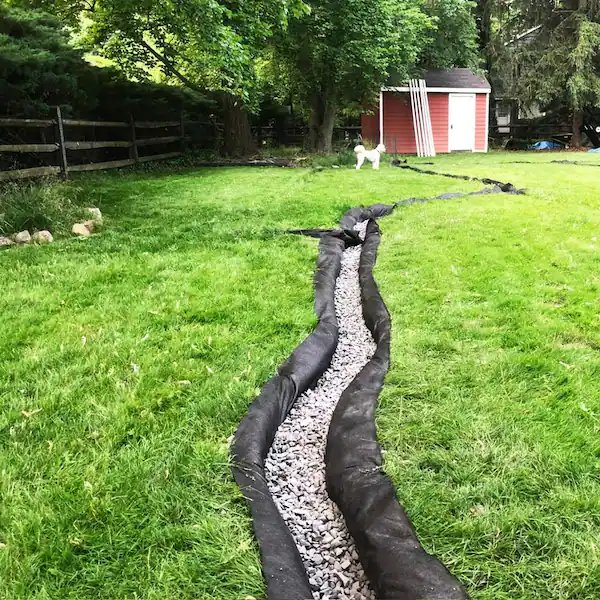
Anyone who's ever battled determined weeds in a garden bed knows the frustration. They steal precious nutrients and water from your desired plants, leaving you with a scraggly, unkempt mess. But what if there was a way to give your new garden bed a fighting chance from the very beginning? Enter weed barrier, a game-changer for gardeners looking to suppress weed growth and cultivate a flourishing haven.
Understanding Weed Barrier
Garden weed barrier is a sheet-like material that acts as a physical barrier between the soil and sunlight. By blocking sunlight penetration, the weed barrier disrupts the germination process of weed seeds, effectively preventing them from sprouting and taking over your precious garden space. It also helps suppress existing weeds by hindering their growth and resource access.
There are a few different types of weed barrier available, each with its advantages and disadvantages:
- Woven Fabric: The most common type, woven fabric is durable, allows water and air to pass through, and lasts for several years. However, it can be expensive and may allow some determined weeds to push through.
- Plastic Sheeting: A cheaper option, plastic sheeting effectively blocks sunlight but can trap heat and moisture, potentially harming your desired plants. It's also less durable and prone to tearing.
- Cardboard: An eco-friendly alternative, cardboard is readily available, biodegradable, and suppresses weeds while it decomposes. However, it's not very durable and needs to be replaced more frequently.
Preparing Your Garden Bed for Weed Barrier Success
Before laying down your LITA weed barrier, it's crucial to prepare the soil for optimal results. First, wage war on any existing weeds. This can be done by hand-pulling them or using a herbicide (be cautious if planning to plant soon after using herbicide).
Next, ensure the soil surface is level. Uneven surfaces can create gaps in the weed barrier, allowing weeds to sneak through. Use a rake to smooth out any bumps or dips in your garden bed.
Installing Weed Barrier: A Step-by-Step Guide
Ready to get your LITA weed barrier in place? Here's a simple step-by-step guide:
- Measure and Cut: Measure the dimensions of your garden bed and add an extra foot to account for edges and overlaps. Cut the weed barrier to size.
- Lay and Secure: Carefully lay the weed barrier over the prepared soil surface, ensuring it covers the entire area smoothly with no gaps. Secure the edges using landscape staples or pins pushed every 12 inches or so to prevent windblown movement.
- Overlapping for Complete Coverage: Where two pieces of weed barrier meet, overlap them by at least 6 inches and secure the overlap with staples or pins. This creates a complete barrier and prevents weeds from finding a way through.
Planting Through Weed Barrier: Making Room for Your Stars
Now comes the fun part - planting your desired crops!
- Marking Your Spots: Using a marker or a template, mark the spots on the weed barrier where you plan to plant.
- X Marks the Spot: For each planting location, cut an X-shaped incision through the weed barrier using a sharp knife or scissors. Fold back the flaps of the X to create an opening for your plant.
Weed Barrier Maintenance: Keeping Your Garden Paradise Weed-Free
The beauty of LITA weed barrier lies in its low maintenance nature. Once installed, it requires minimal upkeep. However, keep an eye out for any persistent weeds that may sprout on top of the barrier due to windblown seeds. Simply remove them by hand to maintain a weed-free environment.
Conclusion
By incorporating LITA weed barrier into your new garden bed, you're giving your plants the best chance to flourish. No more constant weeding battles; just a thriving garden bursting with color and life. So, grab your LITA weed barrier, follow these simple steps, and enjoy a weed-free start to your new gardening adventure!


Leave a comment
This site is protected by hCaptcha and the hCaptcha Privacy Policy and Terms of Service apply.