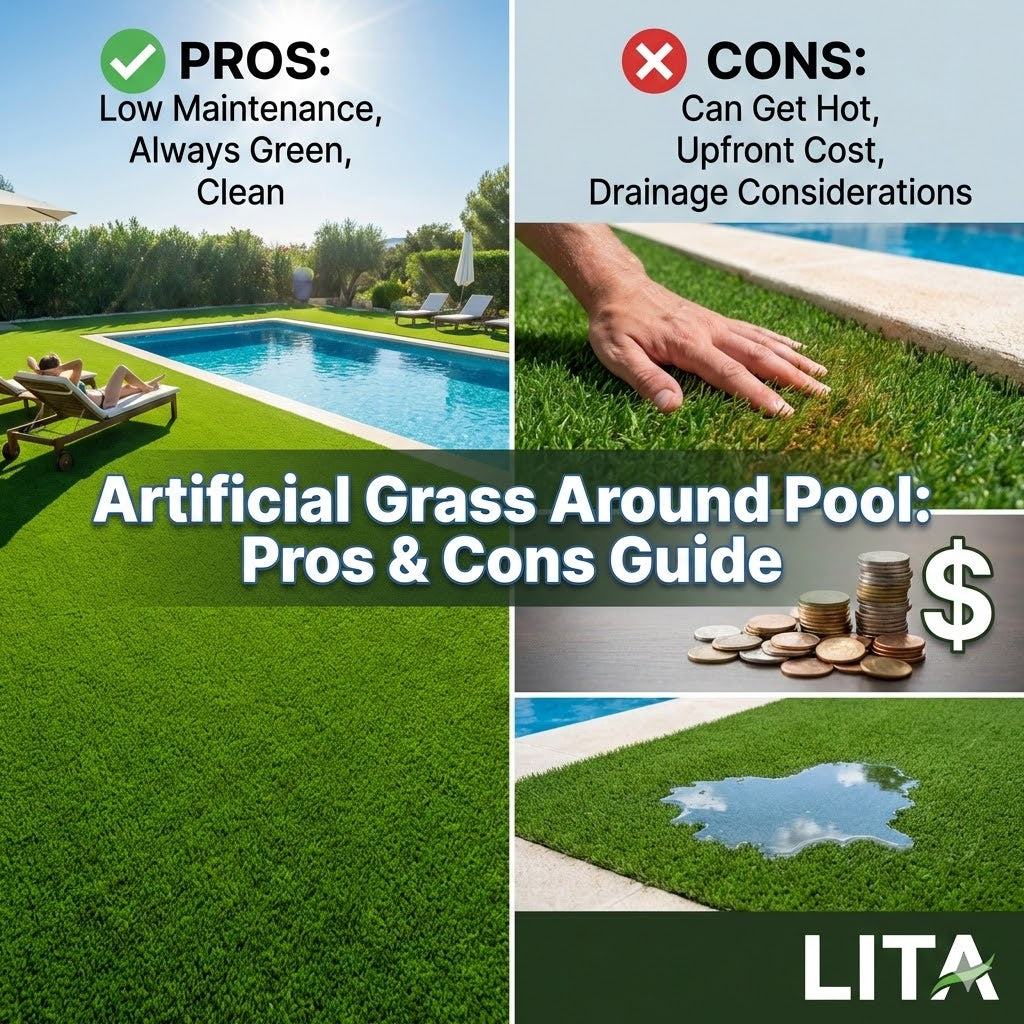
Artificial turf is a popular choice for homeowners who want a green lawn without mowing, watering, or fertilizing. It looks clean, lasts for years, and works well for families, pets, and busy schedules. However, the key to long-lasting turf is proper installation.
Learning how to install artificial turf the right way helps prevent common problems like bumps, poor drainage, visible seams, and loose edges.
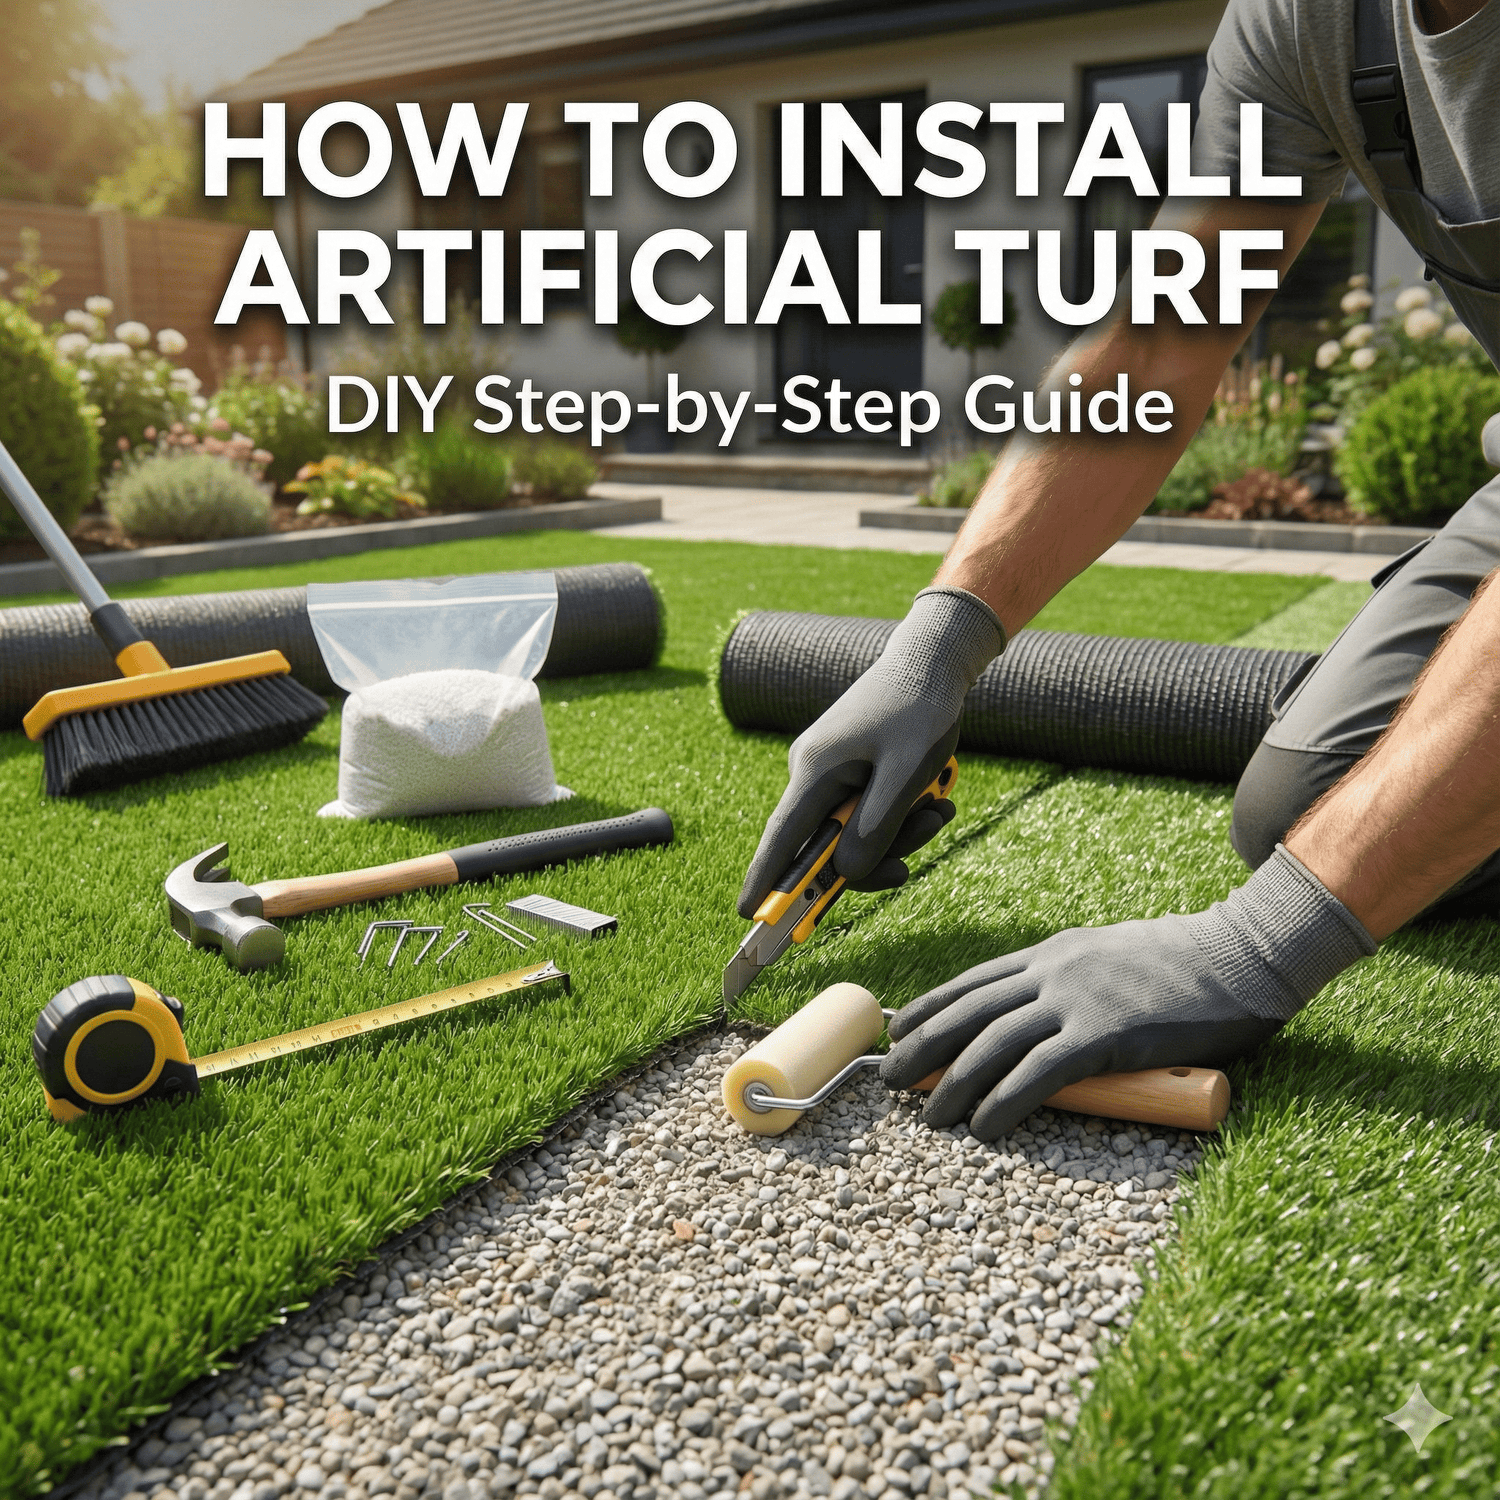
In this guide, you will learn every step from start to finish. We will cover planning, tools, ground prep, base work, turf laying, seaming, and finishing touches.
Planning Your Artificial Turf Installation
Before you start digging or buying materials, good planning is very important. Careful planning helps you save money, avoid mistakes, and finish the job faster.
Start by measuring your yard. Measure the length and width of the area and write the numbers down. If your yard has curves or odd shapes, measure those sections separately. This helps you buy the right amount of turf and avoid extra seams.
Next, plan the direction of the turf fibers. Artificial grass has a grain, which means the blades lean in one direction. All pieces should face the same way so the lawn looks smooth and natural. Most people point the fibers toward the house or main viewing area.
Think about drainage. The ground should have a slight slope away from buildings, usually one to two percent. This allows rain and water to drain and prevents puddles.
Finally, check for sprinklers, pipes, wires, or tree roots. Decide if sprinkler heads will be capped, lowered, or removed. Mark anything that could cause trouble later.

Tools and Materials You’ll Need
Having the right tools and materials before you start will make the job much easier. It also helps you avoid delays once the work begins.
Essential Tools
You do not need special machines for everything, but some tools are very important. A shovel and rake are needed to remove soil and level the ground. A sod cutter is helpful if you already have grass, and it can be rented from most hardware stores.
A plate compactor is one of the most important tools. It packs the base tightly so the turf does not sink later. You will also need a wheelbarrow, tape measure, hammer, and a sharp utility knife with extra blades. For finishing work, a stiff broom or power broom helps lift the turf fibers.
Materials Checklist
You will need artificial turf rolls that match the size of your yard. For the base, crushed stone or road base is used to create a strong and draining foundation. Many people also use a thin layer of sand to help level the surface.
Other materials include weed barrier fabric, landscape nails or staples, seam tape and glue, edging materials, and infill. The type of infill depends on how the turf will be used, such as for pets or heavy foot traffic.
Preparing the Ground Surface
Preparing the ground is one of the most important parts of the project. A weak or uneven surface can cause the turf to sink, shift, or hold water over time.
Start by removing any existing grass, plants, and roots. A sod cutter makes this faster, but a shovel can also work. Dig down about two to four inches across the whole area. Remove rocks, sticks, and loose soil as you go.
Once the soil is cleared, smooth the ground with a rake. The surface does not need to be perfect, but it should be fairly even. Make sure the ground slopes slightly away from buildings so water can drain properly.
Next, install edging around the border of the area. Edging helps keep the base materials in place and prevents the turf from moving. You can use plastic, metal, wood, or concrete edging. Secure it firmly so it does not shift.
If you are using a weed barrier, now is the time to lay it down. Roll the fabric over the ground and overlap the edges slightly. Secure it with landscape staples so it stays flat.
Building the Sub-Base for Drainage and Stability
The sub-base is what supports the artificial turf and helps water drain away. If this step is done poorly, the turf can feel soft, form dips, or develop puddles after rain.
Start by adding crushed stone or road base on top of the prepared ground. Spread it evenly using a shovel and rake. The base should be added in thin layers rather than all at once. This helps it compact properly.
After spreading the first layer, lightly spray it with water. Then use a plate compactor to pack it down firmly. The surface should feel hard when you walk on it. Add more base material and repeat the process until you reach a compacted depth of about two to three inches for most yards.
Check the surface with a level or straight board. Remove high spots and fill low areas as needed. Keep the slight slope for drainage.
Laying and Cutting the Artificial Turf
Once the base is ready, it is time to place the artificial turf. This is where your lawn starts to take shape.
Begin by rolling the turf over the prepared area. Make sure all pieces are facing the same direction so the grass blades lean the same way. Let the turf sit in the sun for a few hours if possible. This helps it relax and removes wrinkles from being rolled up.
After the turf settles, trim the edges roughly, leaving a few extra inches around the sides. This extra material allows you to make clean and accurate cuts later.
When cutting, turn the turf over and cut from the backside. Follow the straight lines on the backing to keep cuts clean. Take your time, especially around curves, trees, or walkways. Change your knife blade often to avoid tearing the backing.
Slide each piece into position and check the fit before moving on. Make sure edges line up well and the surface looks smooth.
How to Install Artificial Turf Seams Correctly
When your lawn needs more than one piece of turf, the seams must be done carefully. A good seam should be hard to see once the job is finished.
Start by lining up the turf pieces so the grass blades face the same direction. This step is very important. If the grain does not match, the seam will always stand out. Adjust both pieces until they meet neatly in the middle without overlapping.
Next, fold the edges back and place seam tape under the gap. The tape should sit centered between the two pieces. Apply turf glue along the tape in a straight and even line.
Slowly place both turf edges onto the tape. Press them down firmly, making sure grass blades are not caught in the glue. Work along the seam and press as you go.
After the seam is closed, place weight on top until the glue dries. Once brushed, a well-made seam blends into the lawn and looks natural from normal viewing distance.
Knowing how to install artificial turf seams the right way helps your lawn look clean and professional.
Securing the Turf in Place
After the turf is laid and the seams are finished, the next step is to secure everything so it stays in position. This helps prevent movement, lifting edges, and wrinkles over time.
Start around the edges. Use landscape nails or staples to fasten the turf to the ground. Place them every four to six inches along the perimeter. Push the nails in until they sit just below the grass fibers, but do not pull the turf too tight.
Next, secure the center areas. Add nails in a spaced pattern across the lawn, usually every one to two feet. This keeps the turf flat and stable, especially in areas that get a lot of walking.
Be careful not to place nails too close to seams. Fastening seams the wrong way can cause them to separate or look uneven.
Once secured, walk around the area and check for loose spots. Proper anchoring helps the turf stay smooth and look fresh for years.
Adding Infill and Final Grooming
Infill is the material that sits between the turf blades. It helps hold the turf in place, supports the fibers, and makes the lawn feel more natural underfoot. This step is very important when learning how to install artificial turf the right way.
Start with dry turf and dry infill. Use a drop spreader to spread the infill evenly across the surface. Do not dump it all at once. Apply it in light, even layers instead.
After each pass, use a stiff broom or power broom to brush the grass upward. This helps the infill settle to the base and keeps the blades standing tall. Work in different directions to spread it evenly.
Continue adding infill and brushing until the lower part of the grass blades is filled. Do not overfill, as too much infill can make the turf feel hard.
Finish by brushing the entire lawn one last time. Check for low spots and smooth out any uneven areas. Proper infill makes the turf stable, clean, and long lasting.
Special Installation Considerations
Every yard is different, and some situations need extra attention during installation. Planning for these details helps your turf perform better and last longer.
Pet-Friendly Installations
If you have pets, drainage and odor control are very important. Use an infill made for pets, such as antibacterial sand or odor-control infill. Make sure the base drains well so liquid does not sit under the turf. Rinsing the lawn occasionally also helps keep it fresh.
Kids and Play Areas
For areas where children play, safety matters. Adding a shock pad under the turf can help soften falls. You may also want to add a thicker base to handle heavy activity. This makes the surface more comfortable and secure.
Hot Climate Tips
Artificial turf can get warm in hot climates. Light-colored infill and non-rubber options help reduce heat. On very hot days, spraying the turf with water can cool the surface before use.

Common Artificial Turf Installation Mistakes to Avoid
Many problems with artificial turf come from small mistakes made during installation. Knowing what to avoid can save time and money.
One common mistake is not digging deep enough. If the base layer is too thin, the turf may sink or form low spots. Poor compaction is another issue. Without a plate compactor, the ground can settle unevenly over time.
Some people forget to plan for drainage. A flat surface with no slope can cause water to puddle. Another mistake is mismatched turf direction. When turf pieces face different ways, seams become noticeable.
Using the wrong amount of infill also causes problems. Too little infill makes the turf feel loose, while too much can hide the grass blades and make the surface hard.
Maintenance Tips After Installation
Artificial turf is low maintenance, but it still needs some care to keep it looking its best. Simple upkeep will help the lawn stay clean, upright, and long lasting.
Brush the turf once in a while, especially in areas where people walk often. Brushing lifts the grass blades and spreads the infill evenly. A stiff broom works well for this task.
Remove leaves, dirt, and debris using a leaf blower or plastic rake. Avoid metal rakes, as they can damage the turf fibers. If dust builds up, rinse the lawn with water to keep it fresh.
For pet areas, clean waste promptly and rinse the turf when needed. You can also use a turf-safe cleaner for odors.
Learning how to install artificial turf is only part of the job. Simple maintenance helps protect your work and keeps the lawn looking great for years.
Cost and Time Expectations for Installing Artificial Turf
Understanding the time and cost involved helps you plan your project better. The total effort depends on the size of your yard and the condition of the ground.
Most DIY artificial turf projects take one to three days. Small areas can often be finished in a single weekend. Larger yards or areas with heavy excavation may take longer, especially if you work alone.
Costs vary based on materials and tool rentals. Artificial turf is usually the biggest cost. You may also need to budget for base materials, infill, edging, and seam supplies. Renting tools like a plate compactor can add to the total, but it is worth it for a strong foundation.
Conclusion – Is Installing Artificial Turf Worth It?
Artificial turf can be a smart choice for homeowners who want a clean and green lawn with less work. When installed correctly, it can last for many years and hold up well to daily use, pets, and weather.
Learning how to install artificial turf step by step helps you avoid common problems and get better results. The key parts are good planning, proper ground preparation, a strong base, and careful finishing. Rushing or skipping steps often leads to uneven spots and extra repairs later.
If you enjoy hands-on projects and follow the process closely, installing turf yourself can be very rewarding. For larger or more complex areas, professional help may be worth considering.

Leave a comment
This site is protected by hCaptcha and the hCaptcha Privacy Policy and Terms of Service apply.