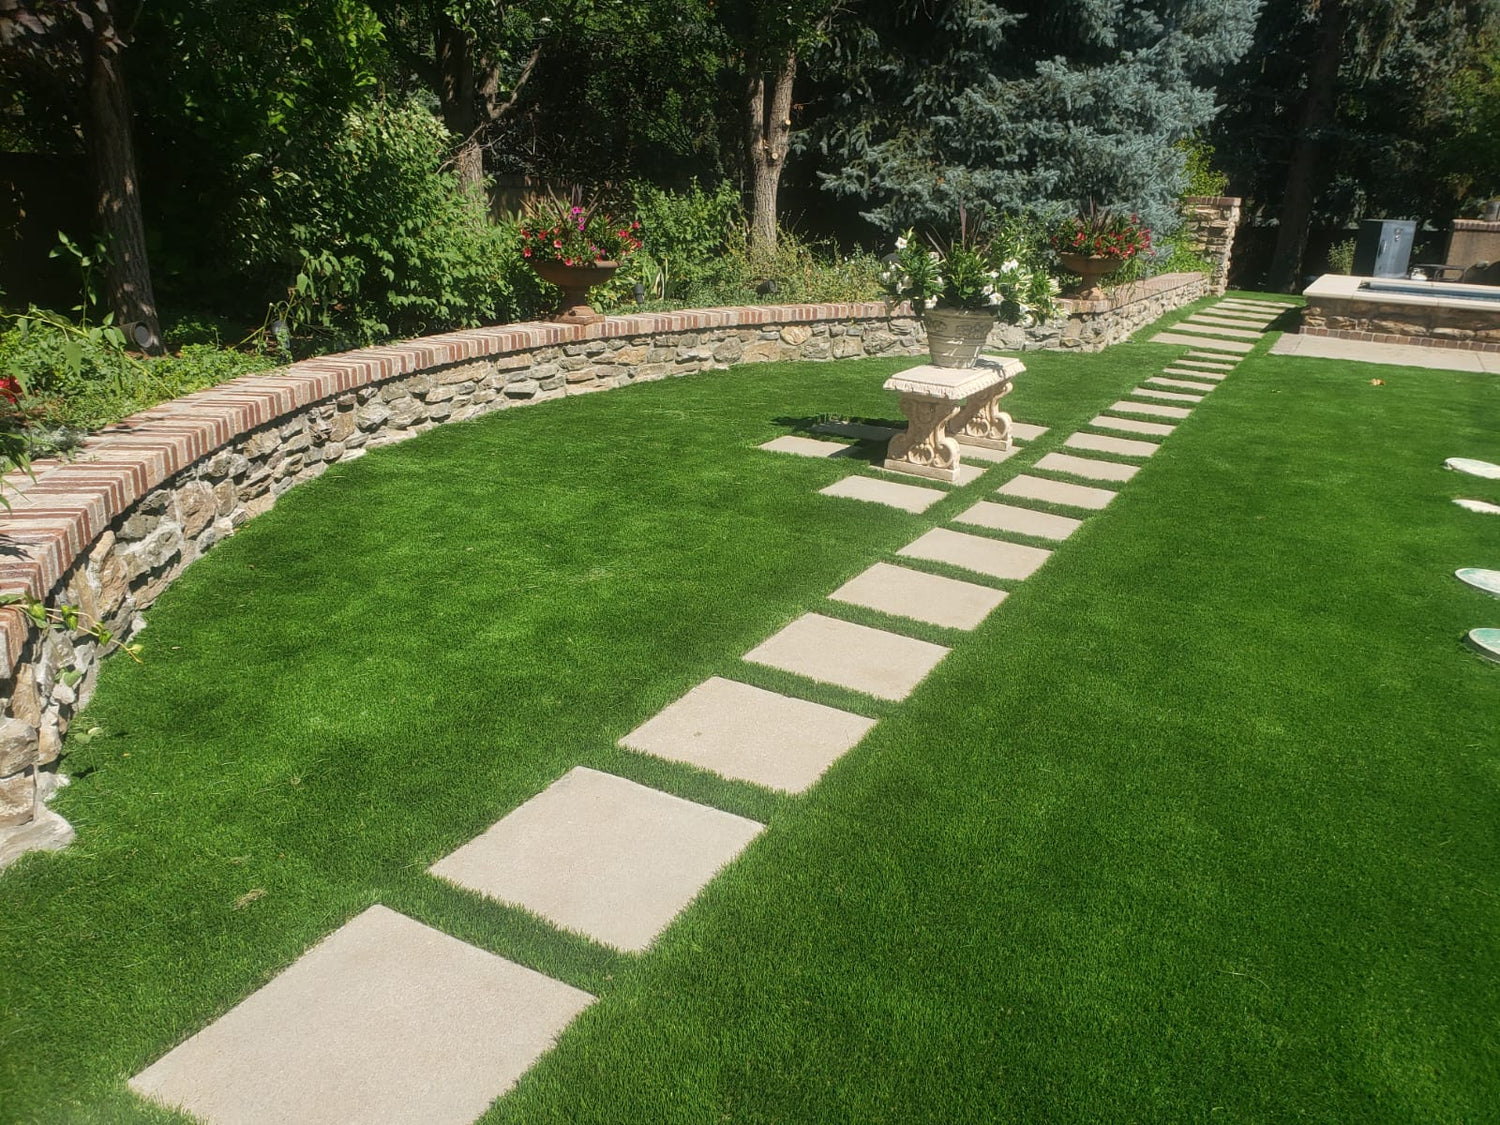
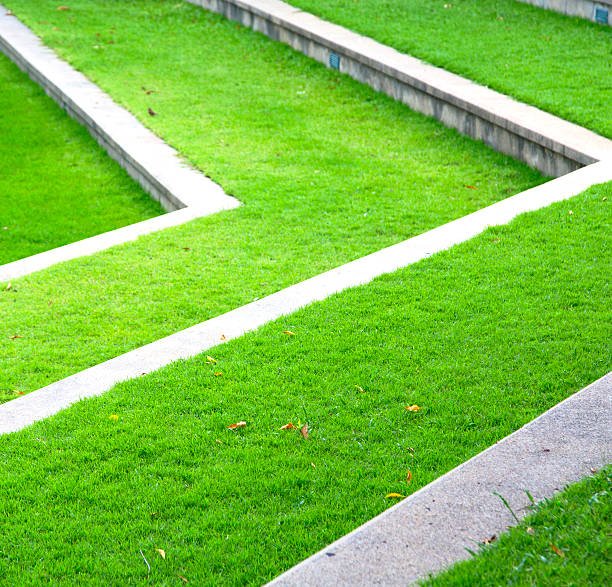
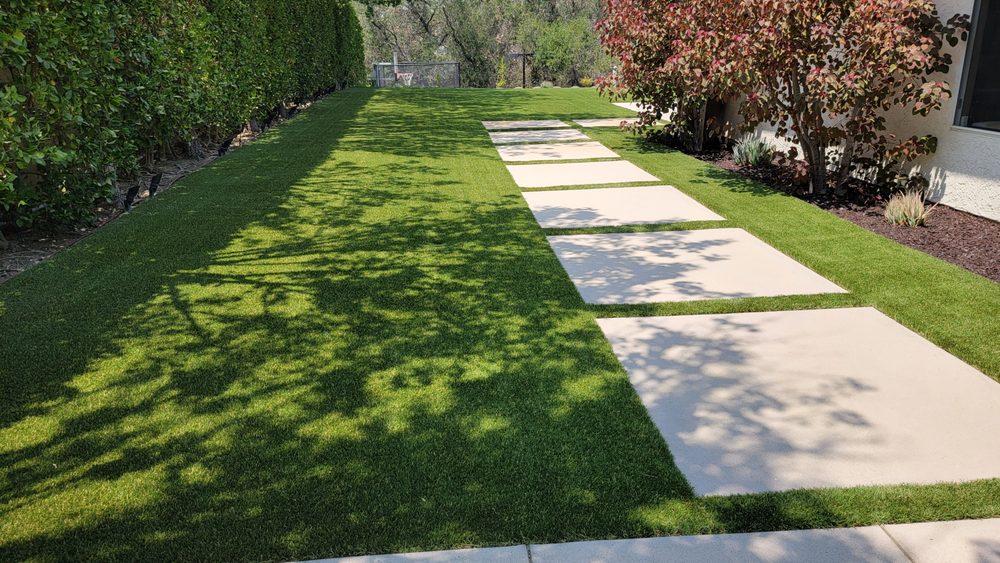
Are you tired of maintaining a patchy lawn or dealing with muddy brick surfaces in your outdoor space? Installing artificial grass on bricks might be the perfect solution to transform your area into a lush, green oasis that requires minimal upkeep. In this comprehensive guide, we'll walk you through the process of installing artificial grass on bricks, from preparation to finishing touches. Whether you're a DIY enthusiast or just curious about the process, this article will provide you with all the information you need to create a beautiful, low-maintenance outdoor space.
- Introduction
Artificial grass has come a long way since its inception, offering a realistic and practical alternative to natural turf. Installing it on brick surfaces can be an excellent way to revitalize patios, walkways, or any brick-laid area that could benefit from a touch of green. This process not only enhances the aesthetic appeal of your outdoor space but also provides a soft, comfortable surface that's perfect for relaxation and play.
- Benefits of Installing Artificial Grass on Bricks
Before we dive into the installation process, let's explore why installing artificial grass on bricks is a fantastic idea:
- Low maintenance: Say goodbye to mowing, watering, and fertilizing. Artificial grass stays green and lush year-round with minimal effort.
- Water conservation: In areas prone to drought or water restrictions, artificial grass helps conserve water while maintaining a beautiful landscape.
- Durability: High-quality artificial grass can withstand heavy foot traffic and resist fading, making it ideal for high-use areas.
- Versatility: It can be installed on various surfaces, including uneven brick areas, transforming them into usable, attractive spaces.
- Pet-friendly: Many artificial grass options are designed to be pet-friendly, with excellent drainage capabilities for easy cleaning.
- Increased property value: A well-maintained, attractive outdoor space can boost your property's curb appeal and value.
- Year-round greenery: Enjoy a lush, green lawn regardless of the season or weather conditions.
- Preparing the Brick Surface
Proper preparation of the brick surface is crucial for a successful artificial grass installation. Here's what you need to do:
- Inspect the surface: Check for any loose, damaged, or uneven bricks. Repair or replace as necessary.
- Clean thoroughly: Use a pressure washer to remove dirt, moss, and debris from the brick surface. Allow it to dry completely.
- Address drainage issues: Ensure proper drainage by checking that the brick surface slopes away from buildings. If necessary, create additional drainage channels.
- Fill gaps: Use sand or mortar to fill any large gaps between bricks to create a more even surface.
- Treat for weeds: Apply a weed killer to prevent future growth through the artificial grass.
- Choosing the Right Artificial Grass
Selecting the right artificial grass is crucial for achieving the best results. Consider the following factors:
- Pile height: Choose a pile height that suits your needs. Shorter piles (25-30mm) are great for high-traffic areas, while longer piles (35-40mm) offer a more luxurious feel.
- Density: Look for grass with a high density for a more natural appearance and better durability.
- Color and texture: Opt for a grass with varied shades of green and different blade shapes for a more realistic look.
- Drainage capabilities: Ensure the grass has proper drainage holes to prevent water accumulation.
- UV resistance: Choose a grass with good UV resistance to prevent fading and maintain its color over time.
- Warranty: Look for products with solid warranties, typically ranging from 5 to 15 years.
- Materials and Tools Needed
Gather the following materials and tools before starting the installation:
Materials:
- Artificial grass
- Weed barrier fabric
- Sharp sand or crushed stone (for base layer)
- Joining tape and adhesive
- Infill material (silica sand or rubber granules)
- Landscape staples or galvanized nails
Tools:
- Tape measure
- Utility knife
- Heavy-duty scissors
- Wheelbarrow
- Rake
- Shovel
- Compactor or hand tamper
- Broom or power brush
- Hammer
- Chalk line
- Step-by-Step Installation Guide
Now that you've prepared the surface and gathered your materials, let's walk through the installation process step by step.
6.1. Measuring and Planning
- Measure the area accurately, accounting for any curves or obstacles.
- Create a detailed layout plan, considering the direction of the grass pile and any seams.
- Order slightly more grass than needed to account for cuts and waste.
6.2. Cleaning and Leveling the Surface
- Thoroughly clean the brick surface, removing all debris and vegetation.
- Use a level to check for any high or low spots in the brick surface.
- Fill any significant gaps or depressions with sand or mortar to create a more even base.
6.3. Installing a Weed Barrier
- Roll out the weed barrier fabric over the entire brick surface.
- Overlap seams by at least 4 inches to prevent weed growth.
- Secure the edges of the fabric with landscape staples or adhesive.
6.4. Adding a Base Layer
- Spread a layer of sharp sand or crushed stone over the weed barrier.
- Aim for a depth of about 15-20mm to create a level surface and improve drainage.
- Use a rake to spread the material evenly, then compact it with a plate compactor or hand tamper.
- Check the level again and make any necessary adjustments.
6.5. Laying the Artificial Grass
- Unroll the artificial grass over the prepared surface, allowing it to acclimatize for a few hours.
- Position the grass according to your layout plan, ensuring the pile direction is consistent.
- Trim the grass to fit the area using a sharp utility knife, leaving a small excess around the edges.
- If multiple pieces are needed, align the seams carefully and use joining tape and adhesive to secure them.
6.6. Securing the Edges
- Trim any excess grass around the edges, leaving about 5-10mm overhang.
- Use landscape staples or galvanized nails to secure the edges of the grass every 15-20cm.
- For a cleaner look, you can create a small trench around the perimeter and tuck the edges in, securing them with adhesive.
6.7. Infilling the Grass
- Spread a layer of infill material (silica sand or rubber granules) over the grass surface.
- Use a stiff broom or power brush to work the infill into the grass fibers, brushing against the pile direction.
- Add more infill as needed, aiming for about 2-3kg per square meter.
6.8. Brushing and Final Touches
- Use a stiff brush or power brush to groom the grass fibers, making them stand upright.
- Check for any areas that need additional infill or adjustment.
- Give the entire area a final brushing to create a natural, even appearance.
- Maintenance Tips for Artificial Grass on Bricks
While artificial grass requires much less maintenance than natural turf, some care is still needed to keep it looking its best:
- Regular brushing: Brush the grass every few weeks to keep the fibers upright and distribute infill evenly.
- Rinse occasionally: Hose down the grass to remove dust and debris, especially during dry periods.
- Remove debris: Pick up leaves, twigs, and other organic matter to prevent decomposition on the surface.
- Address spills promptly: Clean any spills immediately to prevent staining or odors.
- Avoid heavy weights: Don't place heavy furniture or equipment on the grass for extended periods.
- Pet care: If you have pets, regularly rinse areas they frequently use and remove solid waste promptly.
- Annual deep clean: Consider a professional deep clean annually to maintain the grass's appearance and hygiene.
- Potential Challenges and Solutions
While installing artificial grass on bricks is generally straightforward, you may encounter some challenges:
- Uneven brick surface: Use a self-leveling compound or additional base material to create a level surface before installation.
- Poor drainage: Install a proper drainage system or create channels in the base layer to prevent water accumulation.
- Seam visibility: Ensure careful alignment and use high-quality joining tape and adhesive to minimize seam visibility.
- Color fading: Choose UV-resistant artificial grass and consider applying a UV protectant spray periodically.
- Odor buildup (especially with pets): Use a enzymatic cleaner designed for artificial grass to neutralize odors.
- Cost Considerations
The cost of installing artificial grass on bricks can vary widely depending on several factors:
- Quality of artificial grass: Higher quality grass tends to be more expensive but often lasts longer and looks more realistic.
- Size of the area: Larger areas will naturally cost more in materials and labor.
- Preparation required: If extensive leveling or drainage work is needed, costs will increase.
- DIY vs. Professional installation: While DIY can save money, professional installation ensures a high-quality result.
- Additional features: Things like curved edges, multiple grass types, or intricate designs will add to the cost.
On average, you can expect to pay between $8 to $20 per square foot for a professional installation, including materials and labor. DIY installations can reduce this cost, but make sure you're confident in your abilities before tackling the project yourself.
- Conclusion
Installing artificial grass on bricks is an excellent way to transform your outdoor space into a low-maintenance, attractive area that can be enjoyed year-round. By following this comprehensive guide, you'll be well-equipped to tackle the project, whether you choose to do it yourself or hire professionals.
Remember, the key to a successful installation lies in proper preparation, choosing the right materials, and paying attention to detail during the installation process. With patience and care, you can create a beautiful, durable artificial grass surface that will enhance your outdoor living space for years to come.
Whether you're looking to revitalize a tired patio, create a pet-friendly play area, or simply add a touch of green to your urban landscape, artificial grass on bricks offers a versatile and practical solution. So why wait? Start planning your artificial grass installation today and enjoy the benefits of a lush, green outdoor space without the hassle of traditional lawn maintenance.


Leave a comment
This site is protected by hCaptcha and the hCaptcha Privacy Policy and Terms of Service apply.